
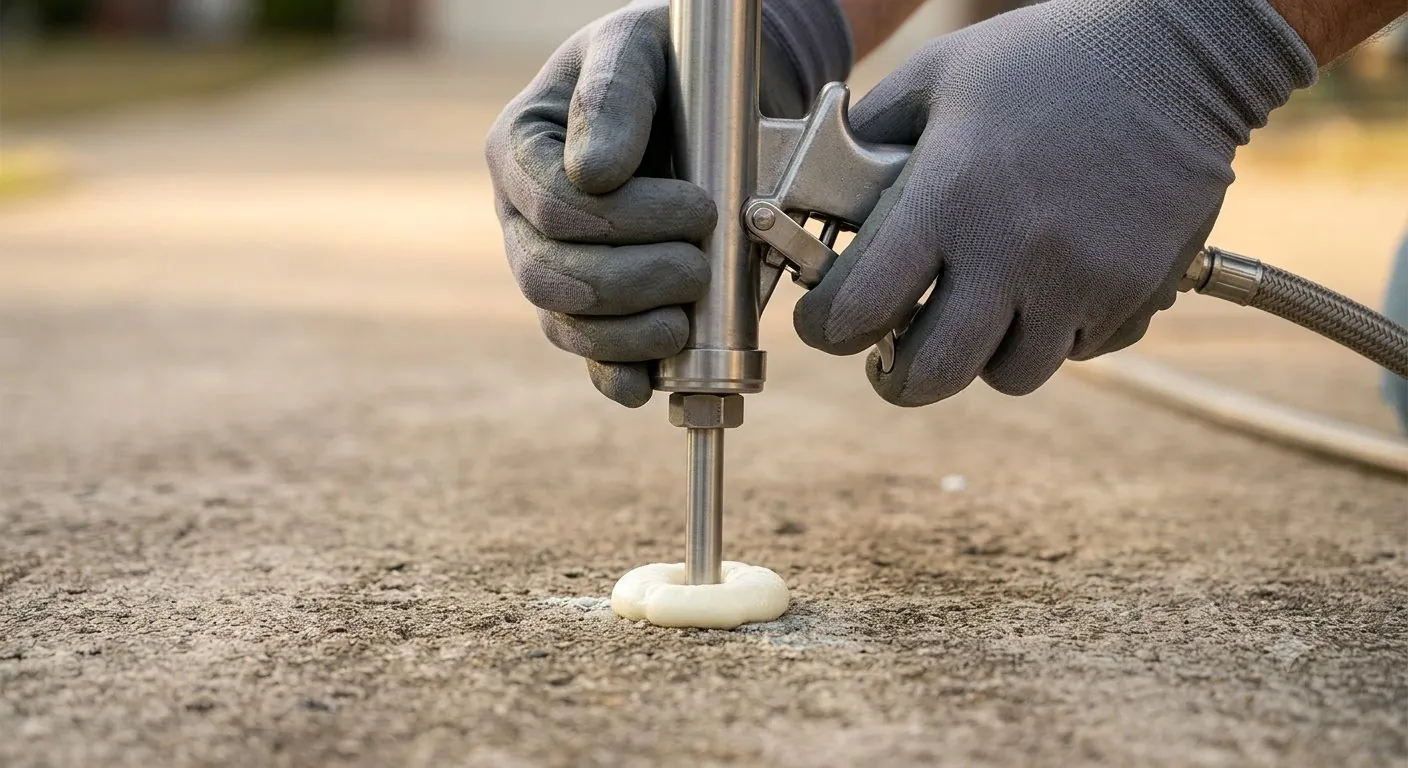
 Illustrative
From Drill to Level in Hours: Inside Polyurethane Slab Raising
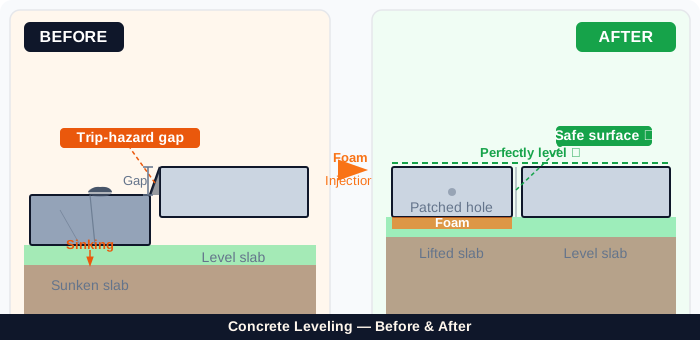
Polyurethane concrete raising lifts a sunken slab by injecting expanding waterproof foam through dime-sized holes. The foam fills the void that caused the settling, then presses upward until the slab returns to level. The crew tracks the height in real time, patches the small holes, and the concrete is usable within hours — no tear-out and no heavy slurry.
The Basic Idea Behind Polyurethane Concrete Raising
Polyurethane concrete raising lifts sunken slabs by injecting an expanding foam underneath them, filling the void that caused the settling in the first place and pushing the slab back up to where it belongs. It's the core method behind concrete leveling and what people usually mean by polyjacking. The foam starts as a liquid, gets pumped through a small hole drilled in the slab, and reacts chemically once it's underneath: expanding to many times its original volume within seconds. That expansion does two things at once: it fills whatever gap has formed under the concrete, and it generates enough force to lift the slab as it fills in. The whole process typically takes a fraction of the time and disruption of tearing out and repouring concrete.

Step One: Finding the Right Injection Points
Before any drilling happens, the crew identifies exactly where the slab needs support and how it's settled: evenly, at one corner, along one edge, or in a more irregular pattern. This matters because injection points aren't placed randomly; they're chosen based on where the void actually is and how much lift each section needs to bring the whole slab back level rather than overcorrecting one spot. This step is also where the difference between a void from soil erosion and a slab that's failed structurally becomes clear. If you want to understand what's typically causing settling around Kansas City properties: expansive clay soil, freeze-thaw cycles, and drainage washing soil out from under a slab: see our why is my concrete sinking page.
If the slab has multiple through-cracks, significant differential settlement, or a section that has broken away entirely, foam injection will not hold it, and the crew will recommend replacement instead of polyurethane raising. That is the structural-failure case this step is designed to catch before any drilling happens. The crew will flag it at the free on-site estimate and will not quote on a job that foam cannot fix, so you get a straight answer about your specific slab before deciding anything.
If you are weighing repair against tear-out, our guide on whether sunken concrete can be fixed without replacing it walks through the question.
Step Two: Drilling Small, Precise Holes
Once the injection points are mapped out, the crew drills a series of holes through the slab, each about the size of a dime. That's it. There's no jackhammering, no trenching, and no large sections of concrete removed. The holes are placed strategically based on the void pattern identified in the previous step, spaced to give even coverage without drilling more than necessary. This is one of the clearest practical differences between polyurethane raising and mudjacking, which typically requires larger holes to accommodate a thicker cement-based slurry. Smaller holes mean less visible patching afterward and less disruption to the surface finish of a driveway, patio, or walkway while the work is happening.
Step Three: Injecting the Foam
With the holes drilled, a two-component polyurethane material is pumped through a small injection port into the space beneath the slab. The two components mix at the tip of the injection tool and begin reacting almost immediately. This is where the process differs most from older lifting methods: instead of pumping in a heavy, pre-mixed slurry that has to physically displace what's below it, the foam starts as a low-volume liquid and does its expanding after it's already in place underneath the slab. That means less material has to be forced into a tight void, and the crew can control the injection at each point precisely, adding more where the slab needs more lift and less where it doesn't. You can see the full process in context on our polyjacking service page.
Step Four: Watching the Slab Rise
As the polyurethane reacts, it expands rapidly (often within seconds of being injected) filling the void and then pressing upward against the underside of the slab. The crew monitors the slab's height in real time as this happens, using levels and gauges to track movement at each injection point and stop exactly when the section reaches the correct elevation. This is a controlled process, not a guess: because the foam reacts quickly and predictably, small adjustments can be made point by point until the whole slab is level again, rather than over-lifting one area and creating a new unevenness. It's part of what makes polyurethane raising suited to precise work like sidewalk trip-hazard repair and pool deck leveling, where getting the height exactly right actually matters.
Step Five: Patching and Cleanup
Once the slab is at the right elevation, the injection ports are removed and the small holes are patched with a matching material, leaving a much smaller footprint than the drilling and patching required for other lifting methods or a full replacement. There's no large excavation to fill back in, no dirt or slurry runoff to clean up, and no waiting on new concrete to cure before the area is usable again. Most of the visible evidence of the work is a handful of small, patched circles roughly the size of a dime scattered across the slab: easy to miss once they've weathered in a bit. The surface itself is otherwise untouched, which matters if you care about the existing finish or stamped pattern.
Why This Method Instead of Mudjacking
It's worth understanding why PolyJacks uses polyurethane foam instead of the older cement-slurry method known as mudjacking. Mudjacking pumps a heavy, water-based slurry through larger holes to fill voids and lift slabs, but that slurry is heavy, which can further stress soil that's already too weak to support the slab, and it isn't waterproof, so it can break down or wash out over time the same way the original soil did. Polyurethane foam is lightweight, so it doesn't add that extra load, and waterproof, so it holds up under Kansas City's wet-dry soil swings and freeze-thaw cycles instead of degrading. For a full side-by-side, see polyjacking vs. mudjacking. Both methods can lift a slab. The difference is what happens to the material underneath it years later.
What This Means for Your Property
For a homeowner, the practical result of this process is a driveway, patio, walkway, or garage floor that's level again, usually completed in a matter of hours rather than days, with minimal mess and no large sections of concrete removed and replaced. Because the foam cures fast, most surfaces can be walked on in about 15 to 30 minutes and driven on within roughly one to two hours. If you're curious whether your specific settling problem is a good fit for this method, PolyJacks offers a free on-site estimate anywhere in the Kansas City metro. Call (913) 713-7794 or use our Diagnose tool to get a straight answer about what's happening under your slab before deciding anything.
How polyjacking works in 90 seconds
Our team walks you through the three-step process: dime-sized holes, high-density polyurethane foam that fills every void and compresses the soil beneath your slab, and use within hours with no heavy trucks. Call (913) 713-7794 or book a free estimate below.
Frequently asked
How big are the holes drilled for polyurethane injection?
About the size of a dime: much smaller than the holes typically needed for mudjacking.
How fast does the foam expand?
It reacts and expands within seconds of being injected, which lets the crew control the lift precisely at each point and stop exactly at the right elevation.
Does the foam ever break down or wash out later?
No: polyurethane foam is waterproof, so it holds up under wet soil, freeze-thaw cycles, and moisture the way a cement-based slurry can't.
Will drilling damage the look of my concrete?
The holes are small and get patched afterward, leaving minor, easy-to-miss marks rather than large repaired sections.
Is this the same thing as polyjacking?
Yes: polyurethane concrete raising and polyjacking refer to the same method. See our polyjacking page for more detail.
Have a sinking slab?
Book a free on-site inspection. Honest advice, usable within hours.
Pick a time that works for you
Book right here on this page. Prefer to talk? Call (913) 713-7794.